How to install LEMP stack (Linux, Nginx, MySQL, PHP, Phpmyadmin, Domain setup) on Ubuntu 22.04


Step 1 - Update the server's package index
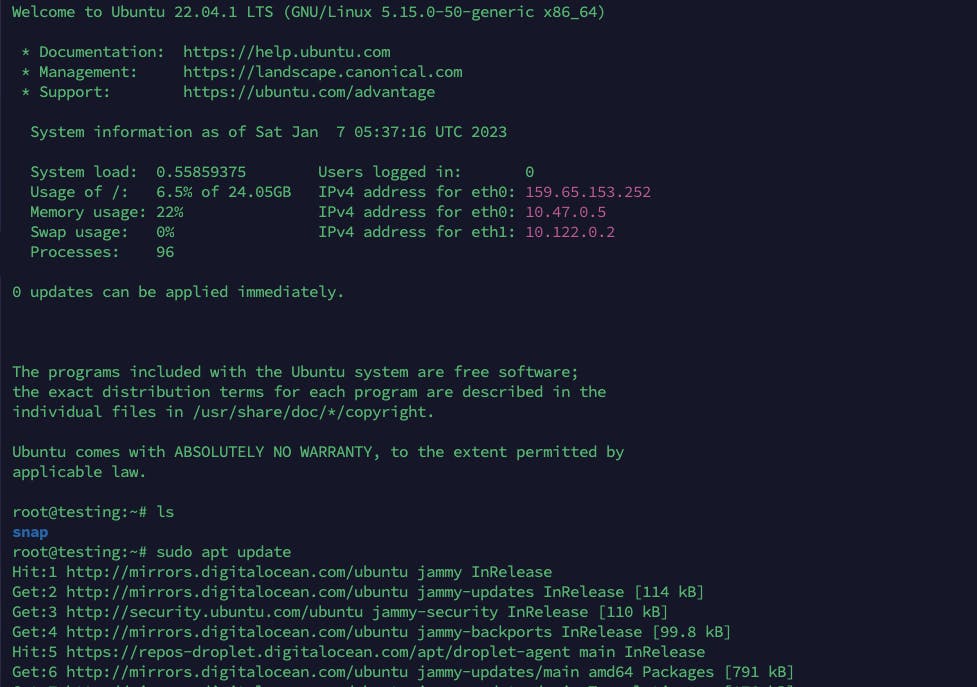
Update the server's package index by executing the command below:
sudo apt update
Step 2 - Install Nginx
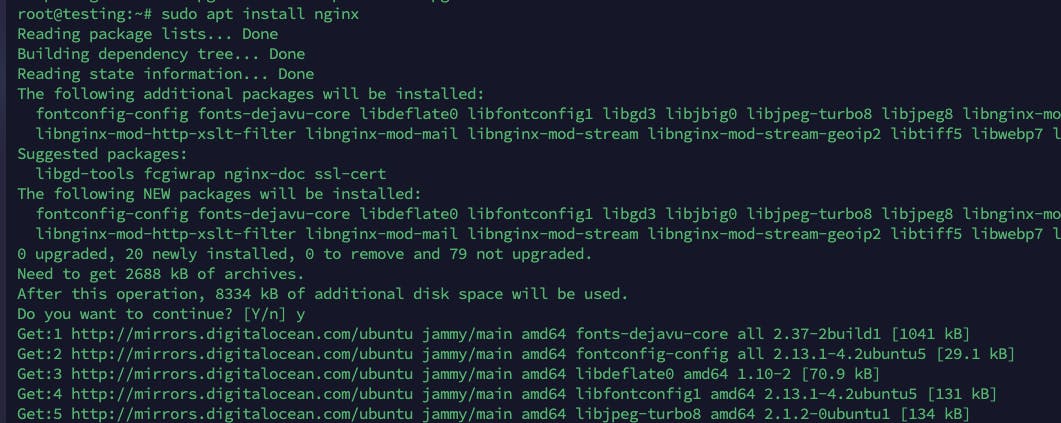
Install Nginx using the command below:
sudo apt install nginx
Step 3 - Allow Nginx through the firewall
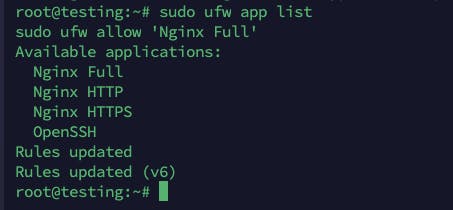
Allow Nginx through the firewall using the command below:
sudo ufw app list
sudo ufw allow 'Nginx Full'
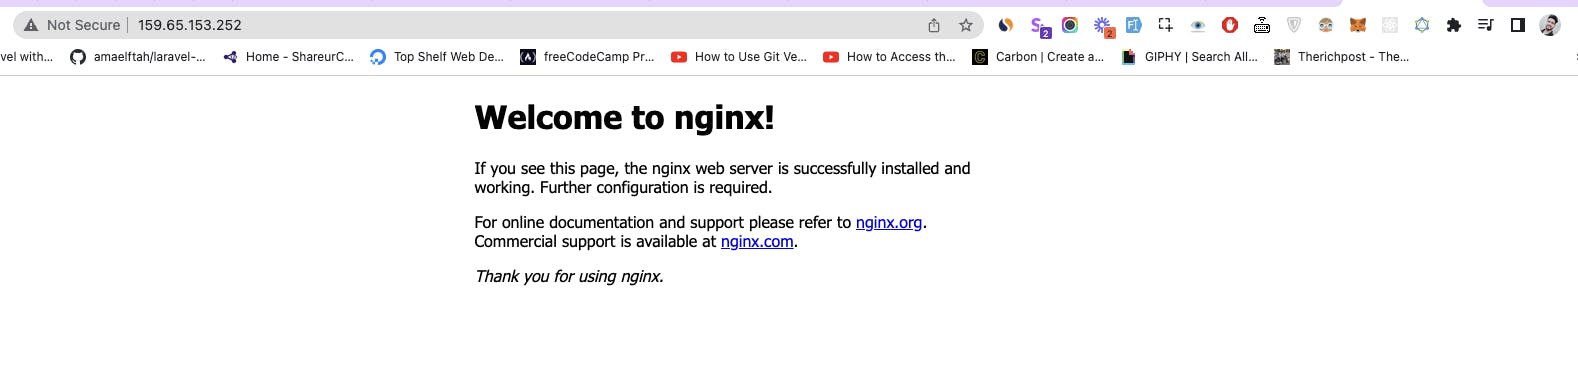
You can now go to your server's IP address to check if Nginx is installed successfully. You should see a page like this:
Step 4 - Installing MySQL
Let's install MySQL using the command below:
sudo apt install mysql-server
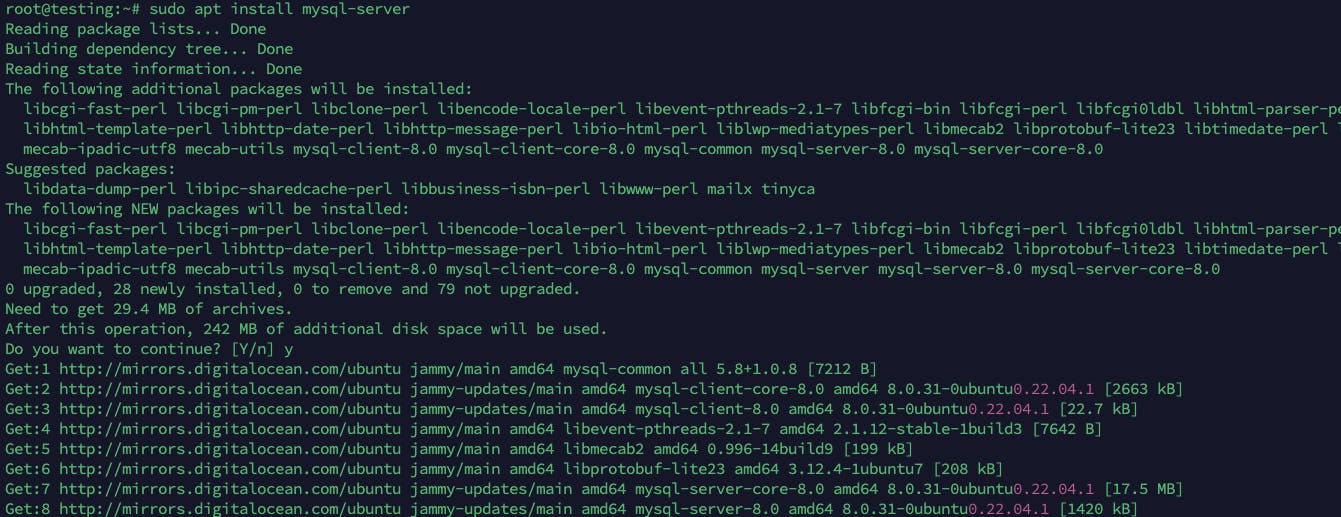
This command will install MySQL, and you will be able to see the console by entering "sudo mysql" in the terminal.
sudo mysql
Step 5 - Installing PHP
The last component in the LEMP stack is PHP. Let's install it using the command below:
sudo apt install php-fpm php-mysql
apt-get install php8.1-cli php8.1-apcu php8.1-bcmath php8.1-curl php8.1-opcache php8.1-fpm php8.1-gd php8.1-intl php8.1-mysql php8.1-xml php8.1-zip php8.1-mbstring php8.1-imagick
If you want to host a PHP website, you will have to copy your files to '/var/www/html' and modify the file located at '/etc/nginx/sites-available/default' to look something like this:
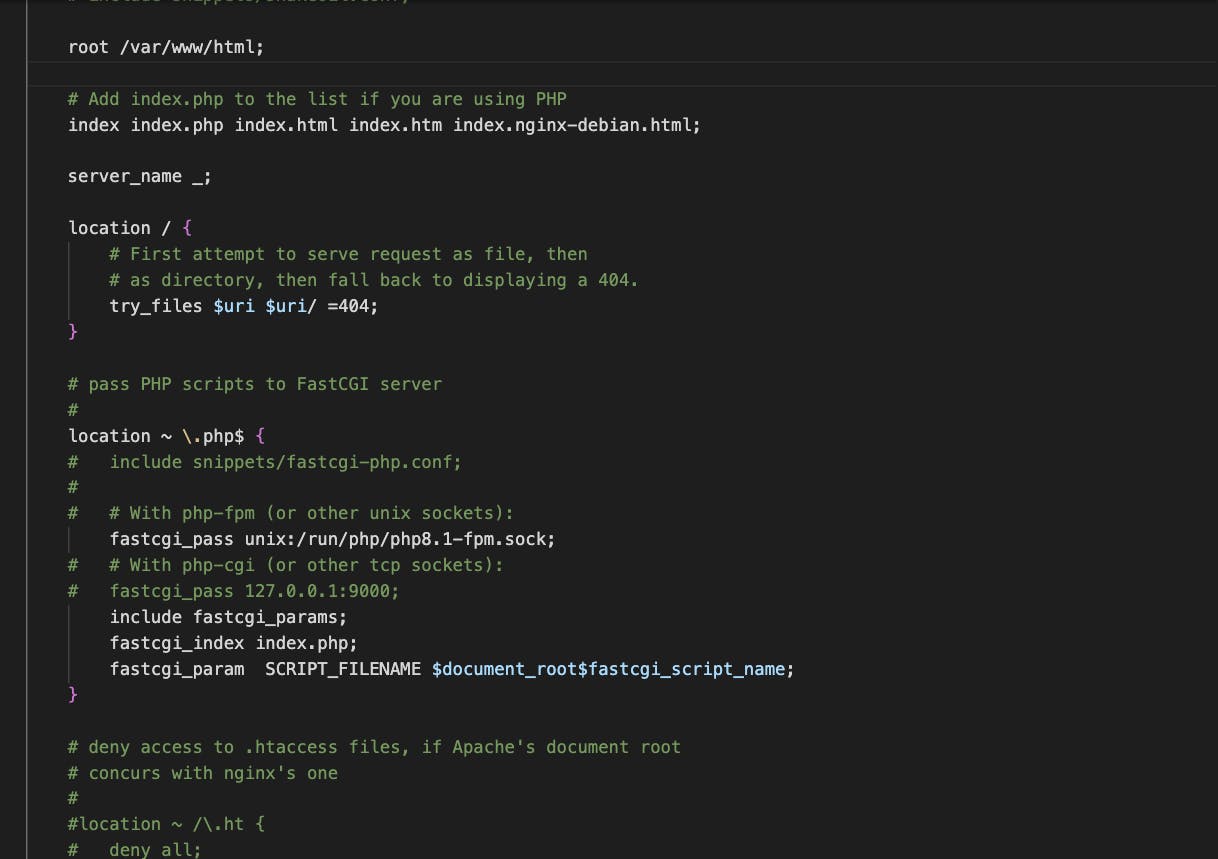
Restart Nginx
sudo systemctl restart nginx
include fastcgi_params;
fastcgi_index index.php;
fastcgi_param  SCRIPT_FILENAME $document_root$fastcgi_script_name;
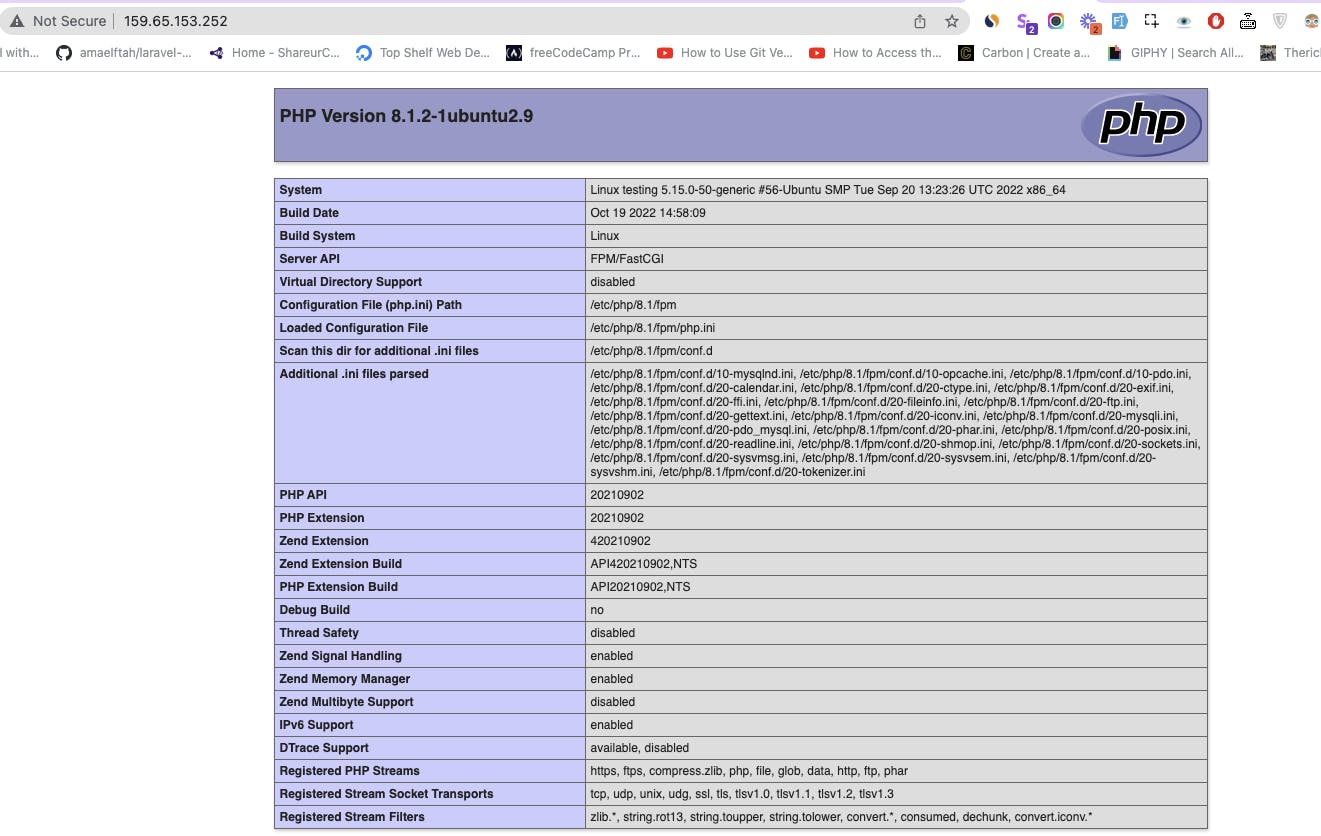
Here is a sample index.php site for you to try out:
<?php
phpinfo();
?>
Step 6 - Installing phpMyAdmin
cd /var/www/html
wget https://files.phpmyadmin.net/phpMyAdmin/5.2.0/phpMyAdmin-5.2.0-all-languages.zip
then uznip the download file
unzip phpMyAdmin-5.2.0-all-languages.zip
change the folder name to phpmyadmin
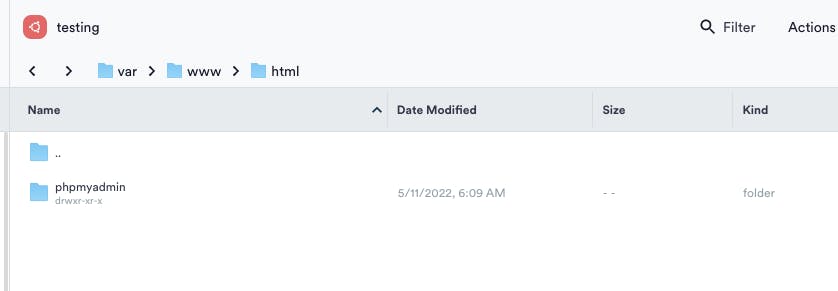
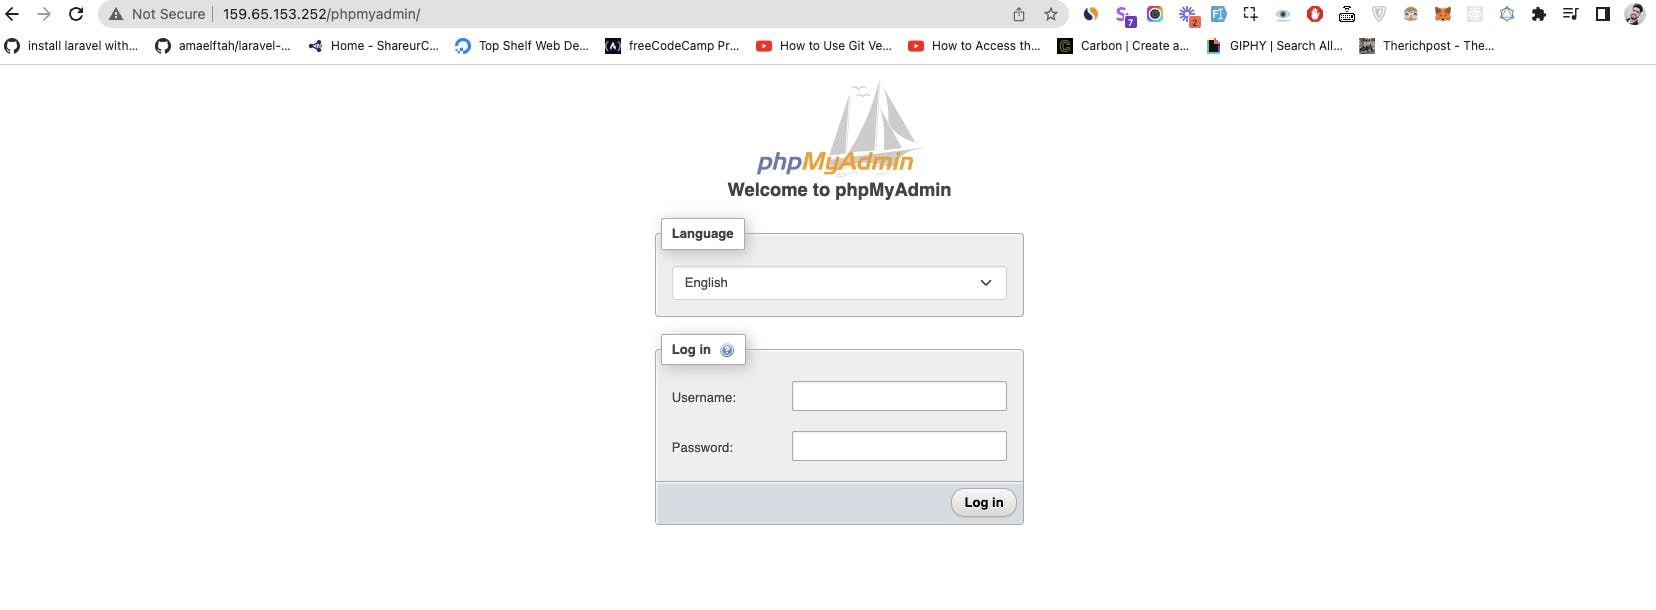
now open ur ip with /phpmyadmin in url
Step 7 Create a New User and Grant Permissions in MySQL
run this command
sudo mysql

CREATE USER 'sammy'@'localhost' IDENTIFIED BY 'password';

GRANT ALL PRIVILEGES ON *.* TO 'sammy'@'localhost' WITH GRANT OPTION;
Step 9: Setting Up Domain
First up is the /var/www directory where your site files will be kept. Lets start by creating a new directory for the new virtual host, as well as its web root directory:
mkdir /var/www/example.com
mkdir /var/www/example.com/html
Setting Up The Nginx Virtual Host Config File
Now we must setup the Nginx config file for our virtual host. We will be creating individual config files for each virtual host in the /etc/nginx/sites-available directory. Create the following file:
vim /etc/nginx/sites-available/example.com.conf
This file will have the following content:
server
{
    root /var/www/html/example.com/html;
    index  index.php index.html index.htm;
    server_name example.com www.example.com;

    error_log /var/log/nginx/example.com.error.log;
    access_log /var/log/nginx/example.com.access.log;

    client_max_body_size 100M;
        location / {
                try_files $uri $uri/ /index.php?$args;
    }
    # use fastcgi for all php files
    location ~ \.php$
    {
       include snippets/fastcgi-php.conf;
       fastcgi_pass unix:/run/php/php8.1-fpm.sock;
       fastcgi_param   SCRIPT_FILENAME $document_root$fastcgi_script_name;
    }

    # deny access to apache .htaccess files
    location ~ /\.ht
    {
        deny all;
    }
}
after this point your domain to your ip
create A record as I am using cloudfare
If you’ve been following along so far, basically all your virtual host configs will be defined in the /etc/nginx/sites-available directory, to enable a config, you would create a symbolic link (or file shortcut) in the /etc/nginx/sites-enabled directory, equally to disable a config, you would remove the symbolic link. Nginx will do the rest and search the /etc/nginx/sites-enabled directory for active virtual host configs.
Now we will use the /etc/nginx/sites-enabled directory and create a symbolic link to the virtual host config file:
sudo ln -s /etc/nginx/sites-available/your-domain.com /etc/nginx/sites-enabled/
sudo nginx -t
Or
ln -s /etc/nginx/sites-available/example.com.conf /etc/nginx/sites-enabled/
And the final step here is to restart Nginx:
sudo systemctl restart nginx
now run your domain
Install ssl certbot
Step 1 — Installing Certbot
sudo snap install --classic certbot

or

sudo apt install certbot python3-certbot-nginx
sudo ln -s /snap/bin/certbot /usr/bin/certbot
sudo certbot --nginx -d app.idevelopment.site

sudo certbot --nginx -d designsdna.com -d www.designsdna.com